Good posture isn’t just a matter of standing up straight. There are a number of muscles involved in maintaining optimal spinal alignment, and the shoulder region is a crucial part of that. Do you find yourself slumping or slouching on a regular basis? There’s a good chance you’re weakening the muscles in the shoulders that help keep you upright.
Here are seven of the best shoulder exercises to help improve shoulder stability and strength, all which will help you maintain good posture throughout the day. Each exercise only takes a few minutes, and most require little or no equipment.
Exercise 1: Shoulder External Rotation With Resistance Band
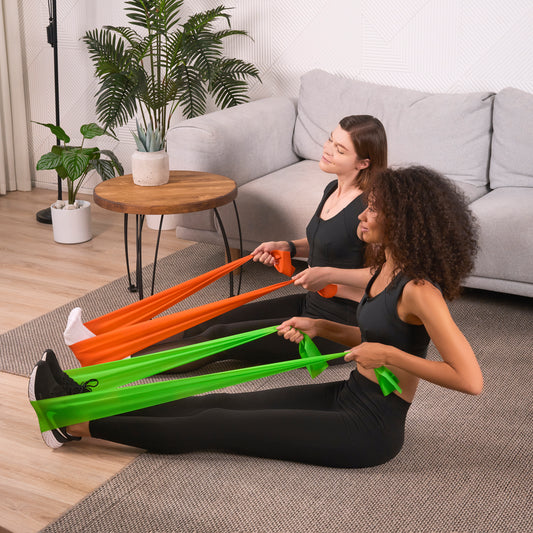
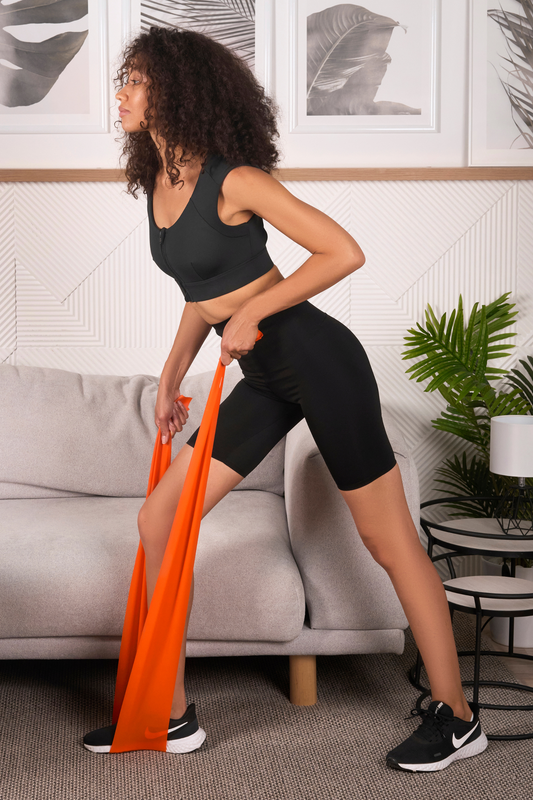
Resistance bands are affordable, portable, and versatile tools for strength training. We recommend always having a set on hand. (Try the Etalon Posture Bands!) They’re especially useful for smaller, targeted movements, such as a shoulder external rotation, which works the back of your rotator cuffs.
Benefits
If you tend to slouch a lot or experience stiffness in the shoulders, this exercise will help increase your range of motion and improve shoulder stability by strengthening the rotator cuffs.
Step-by-step instructions
This shoulder strengthening exercise requires a resistance band, something to attach the band to, and a rolled-up towel or shirt.
- Tie a resistance band to a doorknob, hook, or other sturdy object. Grab the band with your right hand so that the band runs across your body.
- On your right side, place a rolled hand towel (or something similar) between your ribs and right elbow.
- As you hold the towel in place, move your right arm away from your body, then slowly bring it back toward your navel. Keep your right thumb pointed up toward the ceiling.
- Do a total of 10 reps.
- Repeat on your left side.
- Aim for 3 sets on each side.

Common mistakes and how to avoid them
The main goal for this exercise is to target the rotator cuff. Remember to focus straight ahead, engage the core, and keep your shoulder in place. Here are some common mistakes to avoid:
- Movement in the shoulder. Make sure not to move your shoulder. Let your hand be your guide. Keeping the towel in place will help you isolate the movement.
- Thumb is pointing to the side. Instead of leading with the thumb, keep it pointing up toward the ceiling.
- Arched back. Check your posture. Engage your core and “tuck your tailbone.”
Exercise 2: Scapular Retraction
The scapula, better known as the shoulder blade, links your arm to your trunk and allows your shoulder to move in six directions (1). You use your shoulder blades for a variety of movements throughout the day, even when you’re eating. Scapular retraction exercises require you to pull your shoulder blades together toward the spine.
Benefits
Scapular retraction is a good addition to your shoulder training routine. When the scapulae get weak or lazy, the shoulders can become unstable and misaligned. Such exercises strengthen the muscles between your shoulder blades, which can help improve your posture and decrease the stress on your shoulders and spine.
Step-by-step instructions
The simplest scapular retraction exercise requires no equipment. Here’s how to do a standing variation:
- Stand with your feet hip-width apart. Keep your shoulders stacked over your hips. Imagine a string is attached to the top of your head, pulling you upward. Inhale.
- As you exhale, squeeze your shoulder blades together, imagining that you’re squeezing a pen between them. (If you have a friend with you, have them place a hand on your back as a guide.)
- Hold for 5 seconds.
- Inhale as you relax.
- Repeat for 10 to 15 reps.

Be sure to keep your core engaged. Avoid arching your back, puffing your chest out, and shrugging your shoulders upward.
Variations and progressions
There are many ways to work the scapulae. You can do the same steps above sitting backward on a chair or on a stability ball (which will also work your core). You can also hold a resistance band in both hands, raise the arms to the height of your shoulders, and squeeze your shoulder blades together. Simple push-ups will also do the job. If you’re at the gym, head to the lateral pull-down machine.
Exercise 3: Wall Slides
Wall slides are simple movements that can do a lot for your shoulder strength and mobility. All you need is a wall.
Benefits
Wall slides help build strength and flexibility in your shoulders and upper back. They can help decrease a forward head position, open up the chest, and improve posture. If you have a desk job and are feeling stiff, this is a great exercise to stretch your upper body.
Step-by-step instructions
Here are two different variations of wall slides:
Back Against the Wall
- Stand with your back against the wall and your feet about 6 to 12 inches away from the wall. Keep a slight bend in your knees. Press your head, back, and bottom against the wall.
- Bring your arms up to 90 degrees and place your elbows and back of your hands against the wall.
- Slowly straighten your arms above your head to form a “Y” position. Go as far as you can while keeping your hands, elbows, head, and back against the wall. Avoid shrugging your shoulders.
- Do a total of 10 to 15 reps.

Forearms Against the Wall
- Stand with your forearms pressed against the wall at shoulder height. Your palms should be facing each other and your fingers pointing up.
- Slide your forearms toward the ceiling and push gently into the wall.
- Slide back down to return to the starting position.
- Do a total of 10 to 15 reps.
Tips for maximizing effectiveness
Make sure to keep your shoulders down away from your ears throughout the movement. Wall slides can be tough (but even more helpful!) if you have a forward head posture and experience tightness in the shoulders. In the first variation, if you can’t keep your shoulders against the wall, you can begin with the elbows and back of the hands slightly away from the wall.
Exercise 4: Prone Y's and T's
Prone exercises—those done while lying flat, face downward—are a great part of a shoulder at-home workout. Prone Y’s and T’s are slightly different variations of movements that help increase shoulder stability.
Benefits
Deliberate arm raises from a prone position can help build strength and stability in the upper back and rear deltoids, which are located on the outer region of the shoulder. These movements can help improve your posture and pulling strength.
Step-by-step instructions
Start each prone exercise by lying down on your stomach, either on a floor mat, bench, or stability ball. Point your toes away from your body and extend your arms out.
Prone Y
- Stretch your arms out at a 45-degree angle to form a “Y.” Make a fist with your hands and point your thumbs up toward the ceiling.
- Squeeze your shoulder blades down and back.
- Gently exhale and slowly lift your arms off the floor, maintaining that “Y” formation. Feel your shoulder blades pinch together.
- Hold for up to 3 seconds.
- Slowly lower back down.
- Do a total of 8 to 10 reps.
- Aim for 3 sets total.

Prone T
- Stretch your arms out at a 90-degree angle to form a “T.” Make a fist with your hands and point your thumbs up toward the ceiling.
- Squeeze your shoulder blades down and back.
- Gently exhale and slowly lift your arms off the floor, maintaining that “T” formation. Feel your shoulder blades pinch together.
- Hold for up to 3 seconds.
- Slowly lower back down.
- Do a total of 8 to 10 reps.
- Aim for 3 sets total.
To make each exercise more challenging, hold a small weight in each hand.
Importance of proper positioning
While lifting your arms, be sure to keep your head aligned with your upper spine. Lift through your shoulders and relax the neck and lower back. Avoid shrugging your shoulders. The goal here is to primarily target the muscles at the middle and base of your shoulder blades.
Exercise 5: Plank with Shoulder Taps
One of the most well-rounded exercises you can do is one of our favorites: the beloved plank! Want to make it more interesting? Add shoulder taps to strengthen and stabilize your entire body even more.
Benefits
A plank itself is not only one of the best shoulder exercises, it may be the best full-body move you can do. A plank a day can help improve your posture, tighten your core, and reduce lower back pain. Adding shoulder taps will increase strength and stability in your wrists, arms, glutes, and core as well.
Step-by-step instructions
All you need for this exercise is a flat surface.
- Get into a plank position, with your shoulders over your wrists and your feet hip-width apart. Keep your head and spine aligned.
- Pick up your right hand and touch your left shoulder, then return to a plank position.
- Pick up your left hand and touch your right shoulder, then return to a plank position.
- Continue alternating sides for a total of 10 reps per side.
- Aim for 3 sets total.

Avoid rocking your body too much side to side. Try to keep your shoulders and hips steady.
Modifications for different fitness levels
There are several ways to decrease or increase the intensity of this exercise:
Beginner: If you’re experiencing wrist pain or want to take the exercise down a notch, feel free to drop your knees to the ground while keeping your shoulders over your wrists and your head and spine aligned. You can also skip the full shoulder tap and instead lift your hand just an inch or two off the ground.
Advanced: If you’re looking for a greater challenge, try holding the hand at the shoulder for 3 seconds before setting it back down, or add a leg lift (with each shoulder tap, lift the opposite leg off the ground).
Exercise 6: Shoulder Press With Dumbbells
Good shoulder workouts should include extra weight to help you build strength. A shoulder press is a highly effective move that targets the anterior (front), lateral (side), and posterior (rear) deltoids. When using dumbbells, start at a low weight so that you can maintain good technique throughout the entire movement. Add weight as you feel comfortable. You should feel challenged (fatigued by the final rep), but not so much that it compromises your form.
Benefits
Overhead presses are simple, functional movements that increase shoulder strength. Performing this exercise on a regular basis will help with important tasks like stowing your luggage in an overhead compartment. Doing shoulder presses with dumbbells helps activate the front deltoid more than using a kettlebell (2).
Step-by-step instructions
Grab a pair of dumbbells and get started!
- Stand with your feet about hip-width apart, holding a dumbbell in each hand.
- With an overhand grip, bring the dumbbells to your shoulders. Thumbs are near your shoulders and your knuckles are facing up. Inhale.
- Exhale as you raise the weights above your head. Pause briefly at the top.
- Inhale and bring the dumbbells back to your shoulders.
- Repeat for 10 reps.
- Aim for 3 total sets, resting in between each set.

Tips for proper form
It’s easy to lose proper form, especially as you add weight. Be sure to avoid:
- Arching your back. This may be a sign that you need to lower the weight.
- Shrugging your shoulders. Keep the shoulder blades down and away from your ears.
- Locking your elbows. When you reach the top of the press, keep a slight bend in the elbows—this keeps you activating the shoulder muscles.
Exercise 7: Bent-Over Dumbbell Reverse Fly
The reverse fly exercise with dumbbells targets the deltoids and rhomboids (the muscles between the shoulder blades) and helps to strengthen the muscles in the rear shoulders and upper back. As with the shoulder press, start at a low weight to ensure proper technique and add weight as you feel comfortable with the movement.
Benefits
Strengthening the rear shoulders and upper back muscles helps improve your posture and balance. If you spend a lot of time slouched over a computer, the bent-over dumbbell reverse fly exercise can help open the chest, reduce pain, and increase movement in the shoulders and upper back.
Step-by-step instructions
The bent-over dumbbell reverse fly can be done seated or standing.
- Stand with your feet hip-width apart, or sit with your knees bent. Hold a dumbbell in each hand.
- Hinge forward from the hips, keeping a flat back and your knees slightly bent. Let your arms hang down near your calves with your palms facing each other.
- With elbows slightly bent, exhale and raise the weights until your elbows are level with your shoulders. Squeeze the shoulder blades together.
- Slowly lower the weights back to the starting position as you inhale.
- Repeat for 10 to 15 reps.
- Aim for 3 total sets, resting in between each set.

Common mistakes and corrections
Move through the exercise slowly and smoothly. The reverse fly should be a controlled movement—avoid swinging the weights. Make sure to keep a flat back, drawing the navel toward the spine. You can also modify the exercise by doing the same motion while lying on your stomach on a bench. This can help prevent you from arching or hunching your back.
The Best Shoulder Day Workout for Good Posture
The best shoulder day workout does not need to include all of the above shoulder training exercises, but we do encourage you to try to incorporate each within a regular exercise routine. Movements that require no equipment, like wall slides and prone Y’s and T’s, can be done pretty much anywhere, while adding resistance bands or dumbbells can help you improve shoulder stability and strength at a consistent pace.
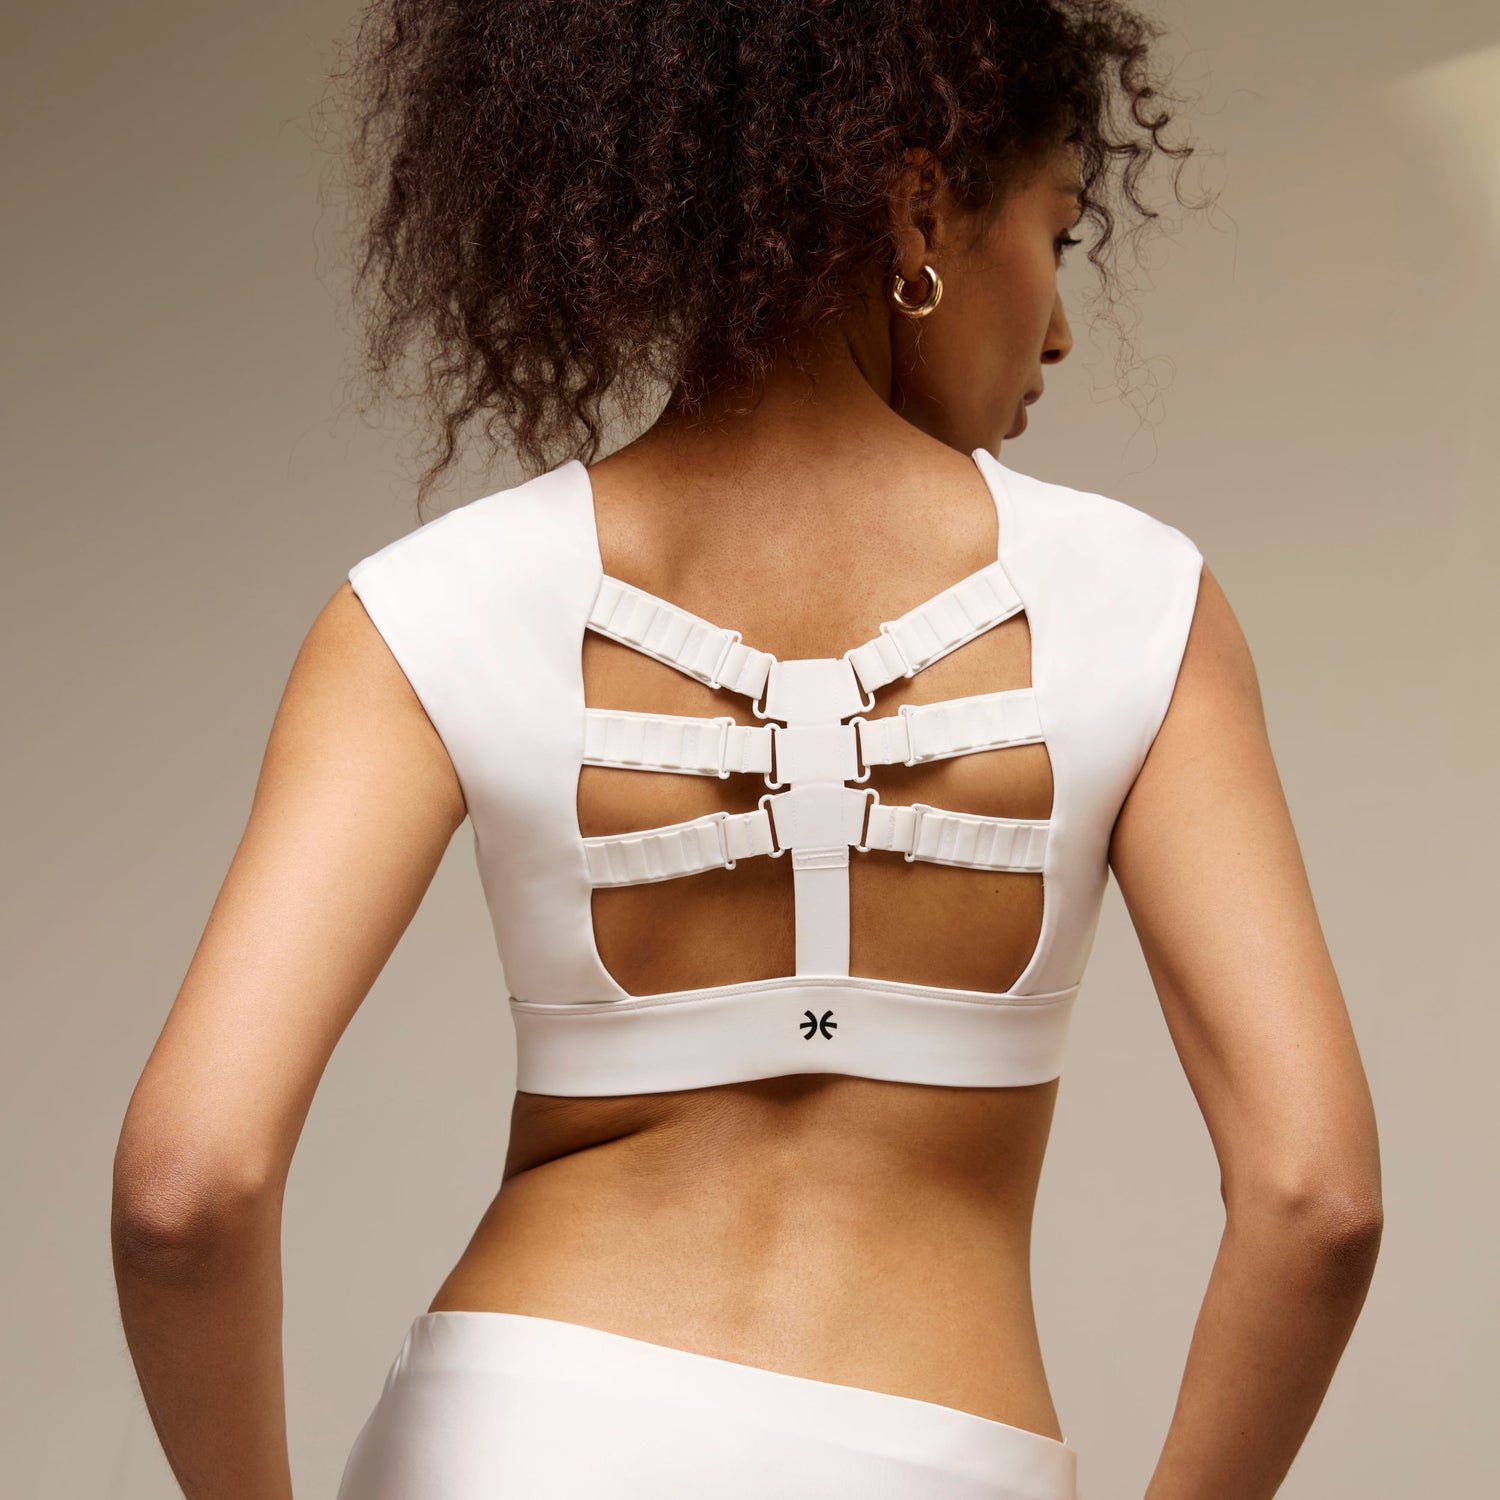
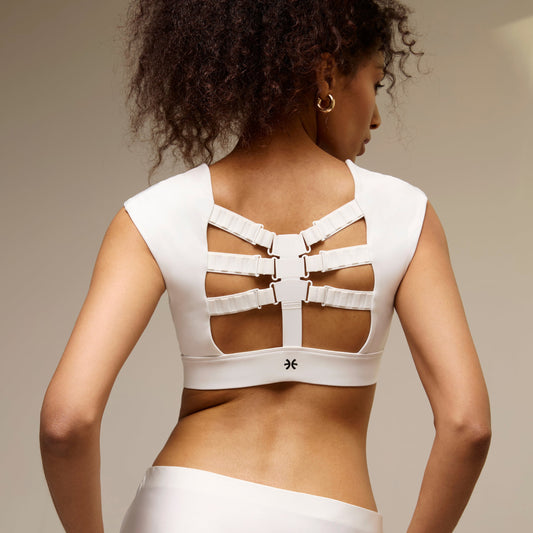
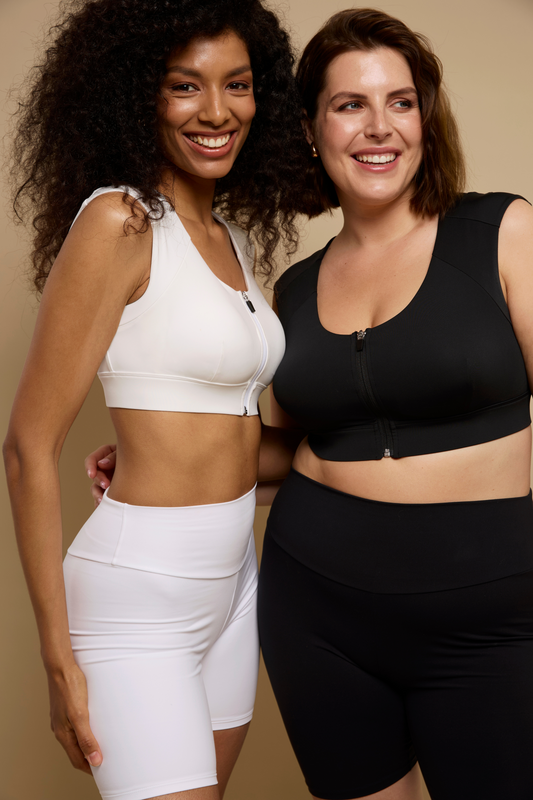
Of course, the road to good posture requires many tools. To ensure proper form throughout any of these movements, we recommend wearing the Etalon posture correcting bra, which has been designed for optimal comfort—even when exercising.
Source:
- Cleveland Clinic. Scapula (Shoulder Blade). https://my.clevelandclinic.org/health/body/scapula-shoulder-blade
- International journal of exercise science. Stability of Resistance Training Implement alters EMG Activity during the Overhead Press. https://pubmed.ncbi.nlm.nih.gov/29997723/
FAQs
How to strengthen the shoulder muscles?
How do you increase shoulder stability?
What are the best exercises for overall shoulder development?
How often should you perform shoulder strengthening exercises?
Can shoulder exercises help prevent injuries?
Trending
Try Etalon posture improvement products
